Annotation designer
Designer is a special tool for editing screenshot annotations. Here, you can manage the screenshot's control references and numbered callouts. To display the designer, double-click the desired screenshot image in the content editor.
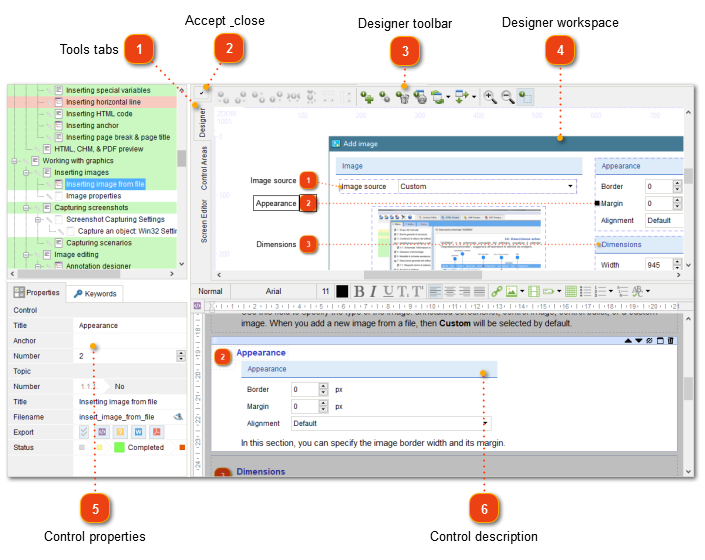
Tools tabsUsing tabs you can switch between different modes in designer window: designer, control areas management, and screenshot editing.
|
Designer toolbarThe designer toolbar provides access to key functions for managing control references and screenshot.
|
Control properties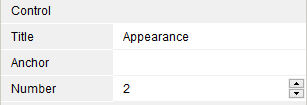 This pane provides access to properties of the selected control. Its structure is very close to the structure of topic settings pane.
|
Control description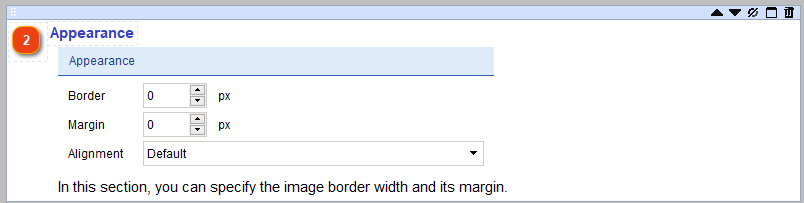 You can edit the control's description in the editor displayed under the designer. The editor toolbar provides access to the editing functions. You can also edit control descriptions in the main content editor.
|