
How to Create Help File for Delphi Windows-Application in Dr.Explain
Dennis CraneInstallation of Dr.Explain
Download the distribution package of the Dr.Explain from the «Download» section of the official product website at http://www.drexplain.com/ and pass the standard procedure of installing the software to start using it.
Use of unregistered version of the software without time limits is available for free. Functional features for free and licensed versions of Dr.Explain match, but all images in the final free version of help file will be marked with a watermark.
Picture 1. Dr.Explain Installation Wizard
Creating and Setting up a New Project
To create a new help file in Dr.Explain, select «Create a new project» in the start screen, or go to the section «File -> New» of the main menu.
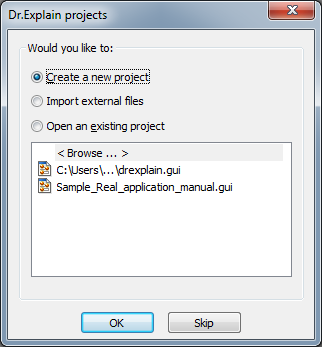
Picture 2. Start-up screen of Dr.Explain
Go to menu «Settings -> Project Settings» and in the dialog box, go to «CHM export -> Manage Help ID». For follow binding Delphi project to topics of help file, flag «Export Help ID in CHM». Press «OK» to apply the settings to the project.

Picture 3. Project settings window
After applying the settings for each topic and each new topic created in the future a unique numeric identifier Help ID will be automatically assigned.
Creating Topics in the Help File
Easy help file structure is achieved by creating topics for the forms and objects of the described application.
Create help file topics by going to the menu section «Settings -> Add topic», or right-click on the project tree on the left, then from the menu select «Add -> Add topic». For making the complete description of Delphi-application, create a topic for each of its object. In this case, the application by pressing the F1 key will open the information about the focused object.
Picture 4. Dr.Explain project tree
In the project tree, specify the name of the created topics and determine their order using the appropriate menu sections.
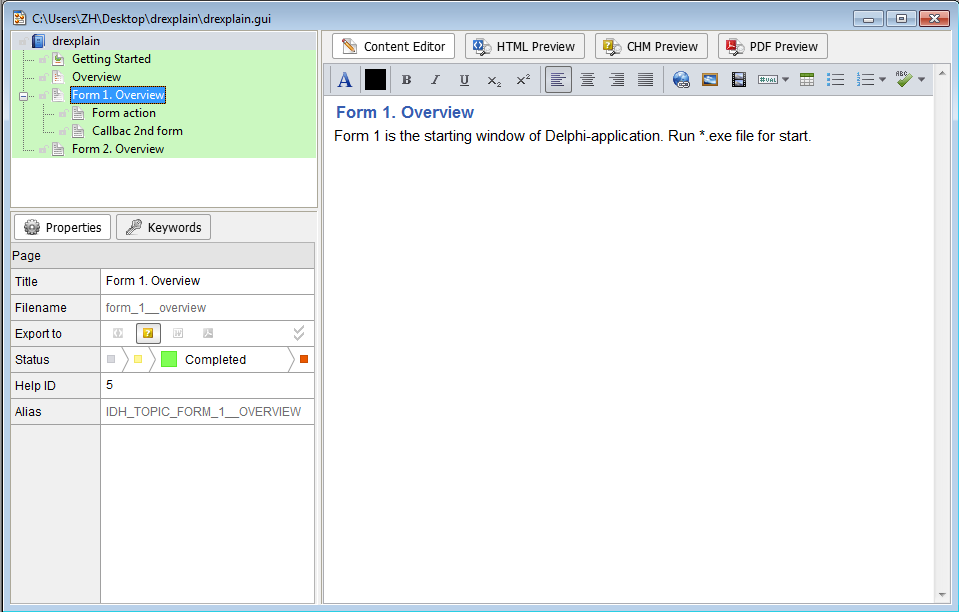
Navigate to the desired topic in the project tree and in the editor window type the contents of the section in free form. The editor provides a standard functionality for text formatting.
In the tab «Keywords» select a set of keywords to search for the help file. To associate a keyword to a specific topic, select the topic in the project tree and flag the selected keyword.
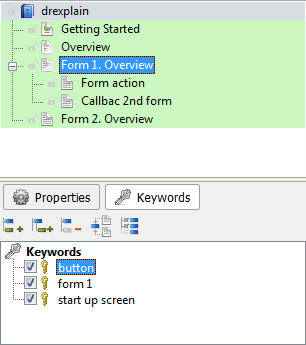
Picture 5. Keywords
To create a description of a particular object of Delphi-application (including application forms) you can also use the «Screen Capture» button.
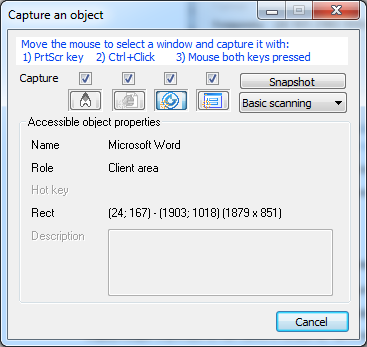
Picture 6. «Screen capture» window
In the dialog box click the icon «Accessible-object» or «Win32-screen», and then go to the Delphi application and select the object described in section in one of following ways:
- Press PrtScr key;
- Click the object, holding Ctrl key;
- Alternately click the mouse two buttons at the window.
As a result of selecting an object in the section editor a topic containing screenshots of both the object and its dependent objects of the application will be automatically created. Editor interface allows deleting information about a section objects and rearrange them without leaving the editor by pressing one button.
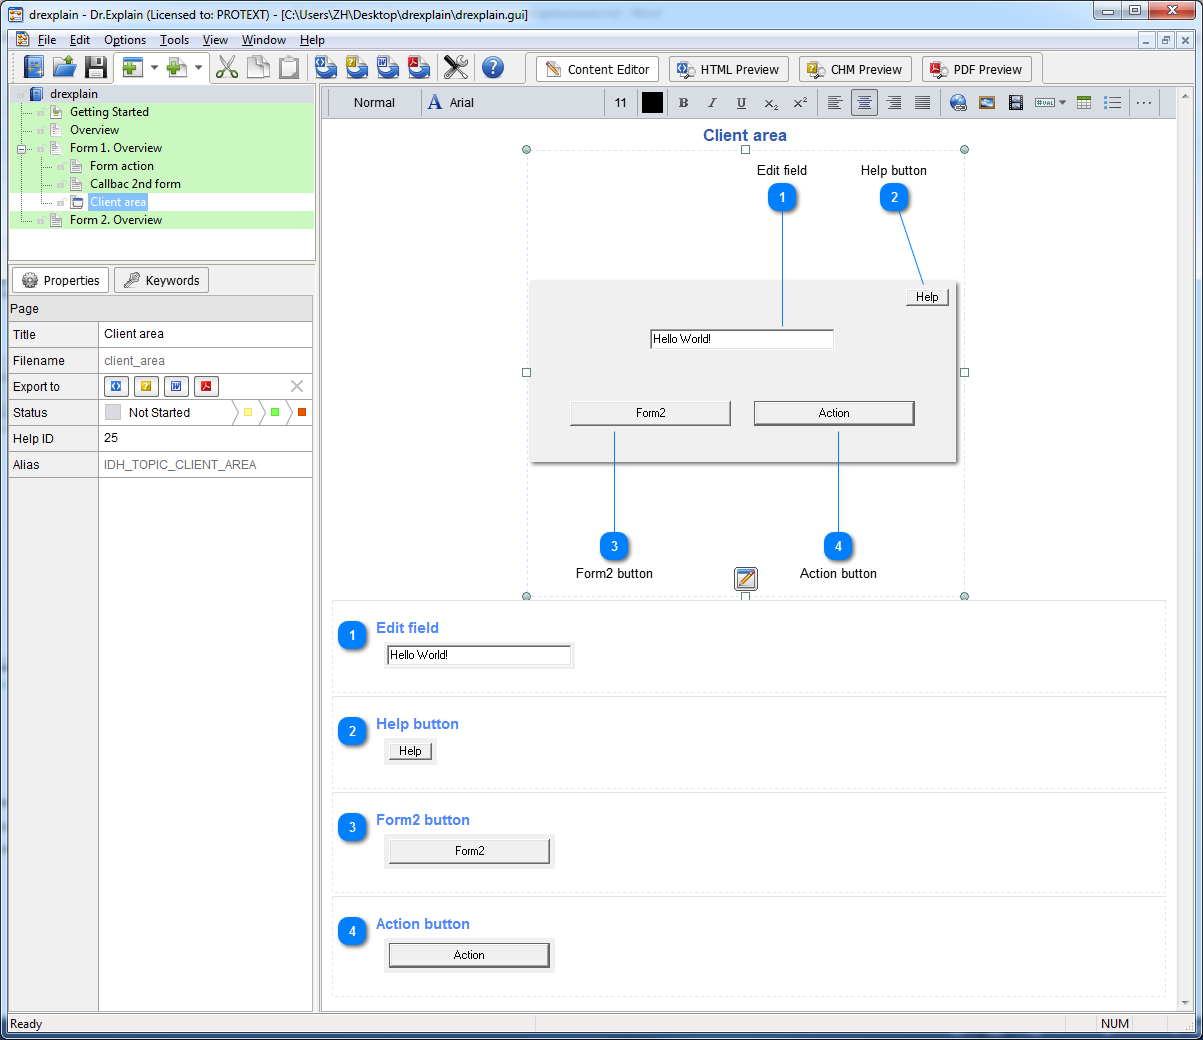
Picture 7. Result of screen capture
Customizing Help ID values
Dr.Explain gives a possibility to customize Help ID. To change the value select the desired topic and click on cell «Help ID» in the properties windows. Enter your value and remove the mouse focus from the field for value setting.

Picture 8. Help ID value change in the «Page Properties» window
Go to menu «Tools –> Check Project for Errors» to check the uniqueness of the amended Help ID. In the case of matching of this value in several topics a message about duplicate values appears. To properly create and link Help file CHM to the project Delphi, eliminate duplication by changing one or more values of Help ID, without departing from the «Validation tool» by clicking a cell in the Value field.
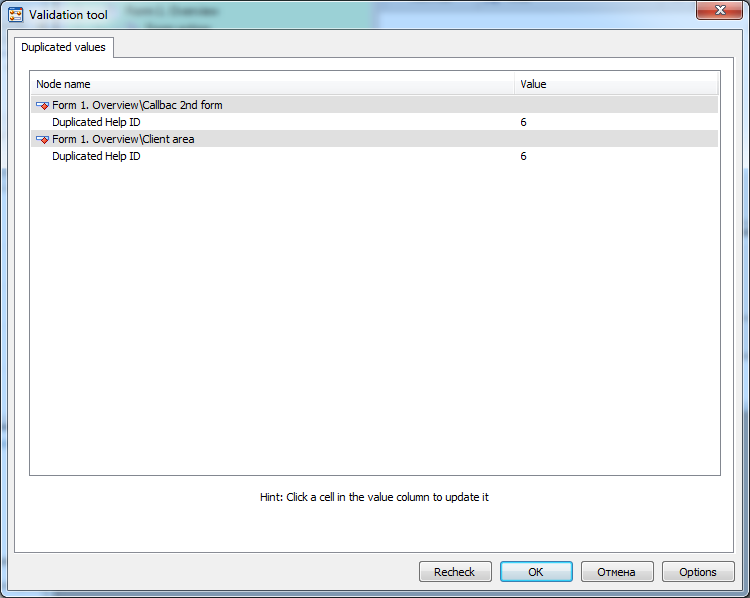
Picture 9. «Project validation tool» window. Help ID duplicate values
Export Project to CHM-file
When editing finished, save the project and go to the menu «Settings -> > Export to CHM». Flag «Run the validation tool before exporting» for pre-screening project for correctness. Flag «Open CHM file» to open the CHM file after it is created and check the box «Silently overwrite» to overwrite the existing project without the «Save As...» dialog. Click «Start Export». Export log will be displayed in the «Export to CHM»window. At the end of the export, click «Close».
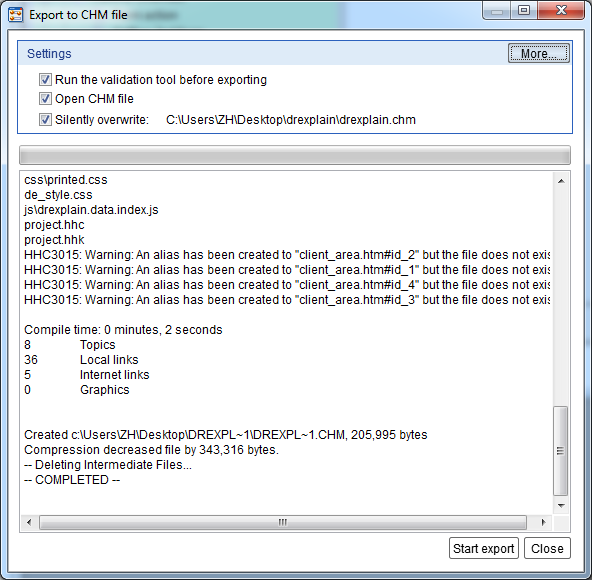
Picture 10. «Export to CHM» window
Setting the Path to CHM-file in Delphi Project
For loading CHM help-file in Delphi project you have to specify the path to this file. To do this, perform one of the following operations (available for versions after Delphi 7):
· Go to menu of Delphi Environment «Project -> Options» and in tab «Application», specify the path in the field «Help file».
Note: If you specify a full path to a file, the Delphi application, running on any machine will search the help file in the specified directory that may not exist on the machine that is running. Therefore, the optimal solution is a relative path to the Help file.
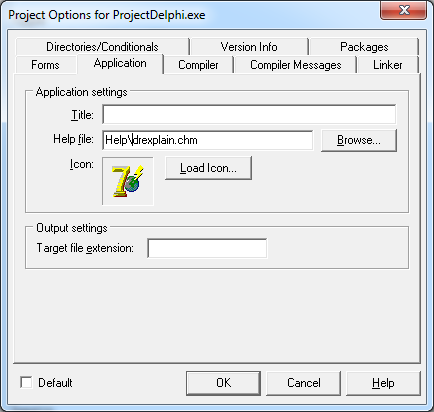
Picture 11. Setting a relative path to a CHM Help file in Delphi
· Go to menu of Delphi Environment «Project -> View Source» in the window opened enter the code:
Application.HelpFile:=ExtractFilePath(Application.ExeName) + 'Helpdrexplain.chm’,
где 'Helpdrexplain.chm’ - относительный путь к файлу справки CHM.
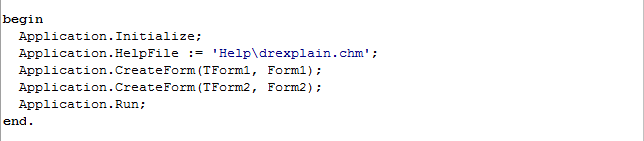
Picture 12. Setting of relative path to a CHM Help file in code
CHM Help file Topic Binding to Delphi Application Form
It is possible in Delphi project to specify individual help file for each of the forms of the project. For this, perform one of the following steps:
· Type this string to the project code
HelpFile:=ExtractFilePath(Application.ExeName) + 'Helpdrexplain.chm'

Picture 13. Setting of a relative path to the CHM Help file for TForm
· In the Object Inspector, specify the appropriate value for the form in the field «HelpFile»
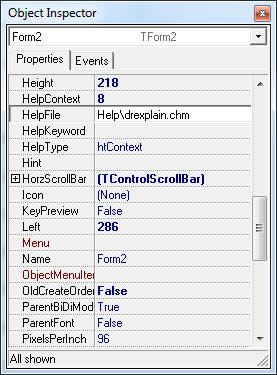
Picture 14. Setting of a relative path to the CHM Help file for the object TForm in the «Object Inspector»
CHM Help File Topic Binding to Delphi Application Objects
CHM file format and Delphi applications allow assigning for each object a Help file topic, which will open when you press F1 in case if this object is focused. To do this in the Inspector object in the field «HelpContext» set your HelpID from the created CHM file. If the help file is missing a topic with HelpID with value set in «HelpContext», the help file will open a topic associated with the parent form.
Additional Ways of Loading CHM-file from a Delphi Application
There are several alternative ways to load help from your Delphi application:
· Perform the command ShellExecute(Application.Handle, 'open', ’Help/drexplain.chm', nil, nil, 0); by button pressing or other action. Before that register in box Uses extension ShellAPI. This action opens main page of help file. With this method to call the Help file it is not necessary to pre-associate help file with the application.
Picture 15. Calling a help file using the command ShellExecute
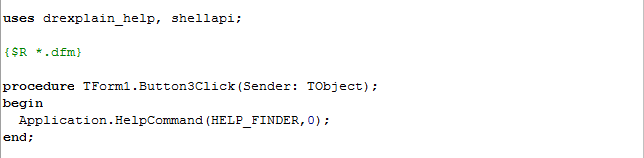
· Perform the command Application.HelpCommand(HELP_FINDER,0); by button pressing or other action.

Picture 16. Calling a help file using the command Application.HelpCommand
Peculiarities of Help File Integration in Delphi 7 Applications
To use a CHM Help file CHM in projects in Delphi version 7 or previous you have to use third-party add-ons.
Download and place in a directory of your project file *.pas of one of selected extensions:
· HtmlHelpViewerEx (http://dl.dropbox.com/u/201788/Projects/HTMLHelpViewerEx.zip);
· HtmlHelpViewer (https://github.com/darrincedwards/SESComponentsNW/blob/master/HTMLHelpViewer.pas);
· StoHtmlHelp (http://pyscripter.googlecode.com/svn/tags/Release_1.7/StoHtmlHelp.pas);
Specify the name of the linked extension in any Uses section in Delphi project.

Picture 17. Linking a third-party extension to project in Delphi 7
Further work with a help file in applications in Delphi version 7 or previous is performed in ways described above similar to other versions of Delphi.