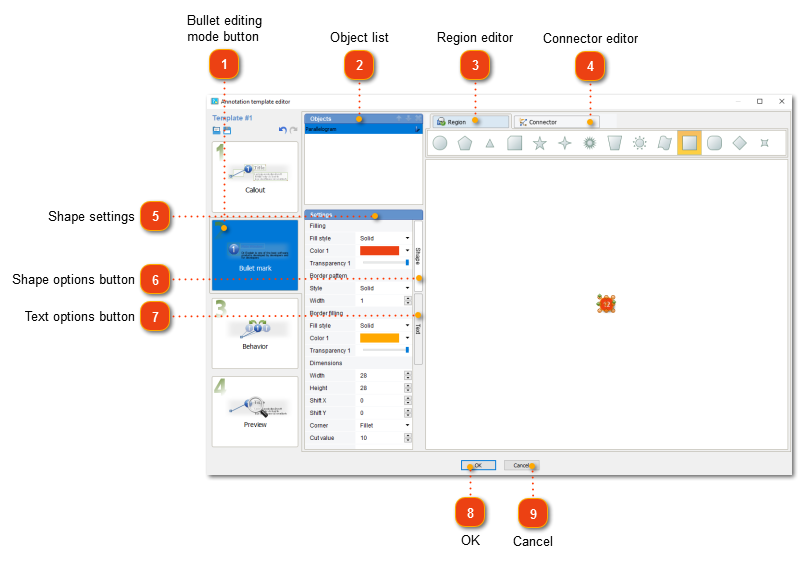
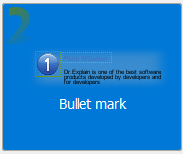
Use this dialog to configure the settings for the bullet marks that appear in control description area in editor:
You can change the form and color of the objects, shapes and connectors used as the bullet marks. You can also edit the text used for the bullet mark.
To display this window, go to Screenshot annotating, click the annotation template you'd like to edit and click the Bullet mark mode.
 Bullet editing mode
Click this button to switch to bullet mark editing (this) mode.
|
|
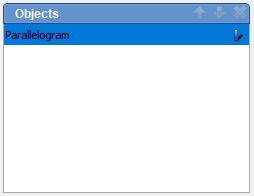
 Object list
This field lists all the available objects for the selected bullet mark.
-
Use   buttons to move the object in the list either higher or lower. buttons to move the object in the list either higher or lower.
-
Click  button to remove the selected object from the callout. button to remove the selected object from the callout.
-
Use  button to toggle object's shadow. button to toggle object's shadow.
|
|
 Region editor
Click this button to add or change the region settings. The following regions are available:
|
|
 Connector editor
Click this button to add or change the connector settings. The following connectors are available:
|
|
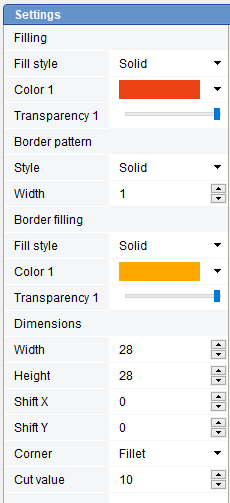
 Shape settings
This section of the dialog displays the available options for editing shapes. It consists of the following sections:
-
Filling options — configure the fill options like fill style, its color, opacity level, etc.
-
Border pattern — configure the border style and, if necessary, change its filling options.
-
Dimensions — configure the shape dimensions.
-
Advanced — configure the advanced shape options.
|
|
 Shape options
Click this button to access the shape settings.
|
|
 Text settings
Click this button to access the text settings. The following text settings are available:
The text options window is split into two sub-sections:
-
Text settings — configure the various font settings and effects.
-
Padding — change the text padding.
|
|
 OK
Press the button to accept all changes and close the dialog.
|
|
 Cancel
Press the button to close the dialog and to discard the changes.
|
|