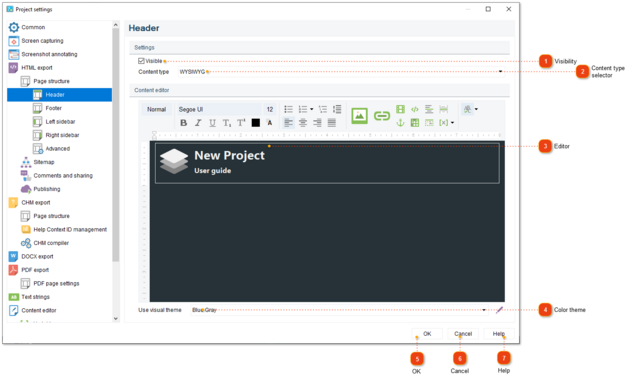
In this dialog window, you can configure the header of your HTML online manual or CHM file pages. A header is a part of the page shown above the main content area. Usually it contains logo, title, banners, and main menu elements.
To open the project settings, use one of the following methods:
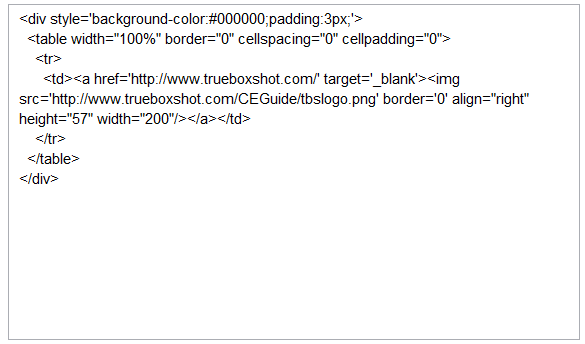
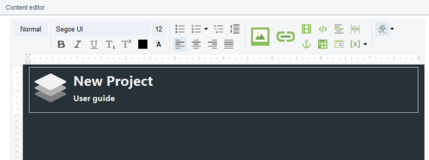
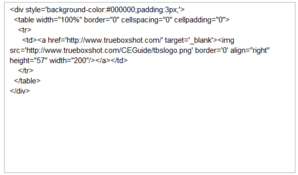
Use this section to switch the editor into Code or WYSIWYG1 mode. In Code mode you can insert your own HTML or other code that will render the header of the page. The provided code will be inserted into the output page file as-is, without modifications:
Use this selector to choose a predefined color theme for the output HTML files. You can also create your own color themes by clicking button next to the theme list.
1WYSIWYG ("What You See Is What You Get") — denoting the representation of text on-screen in a form exactly corresponding to its appearance on a printout.
 in HTML preview (or CHM preview). Here is what it looks like: