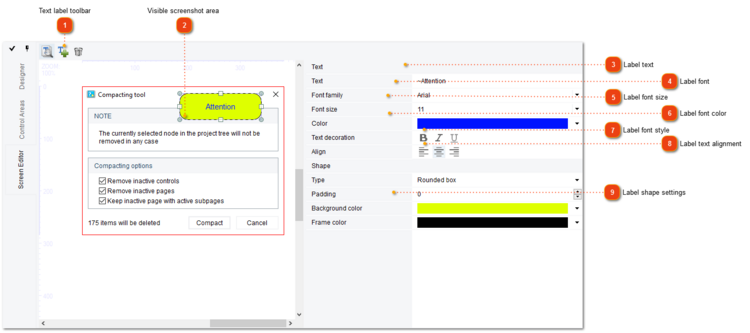
The Screen editor tool is a part of the image editing mode. Here you can specify the visible part of the screenshot (i.e. to crop the image). To do that, drag the sides or corner markers of the red rectangle on the left side.
You can add text labels to the screenshot. Text labels are independent objects that you can edit, move, and delete. You can set each label's text and border independently.
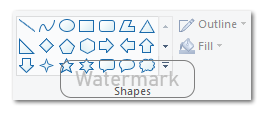
Screenshot below shows a cropped image with a label "Watermark" added on top of it:
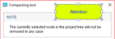
Upon export image is cropped and all labels are displayed on top of it:
Text label toolbar
Here you can add, delete, and toggle visibility of labels (even if they're hidden, labels will still be exported)
In order to draw a rectangle around a part of the image, add a label and clear the Text field, then set type and color of the rectangle.
If you want to edit out a part of the screenshot (e.g. to hide sensitive data), add a label, clear its Text field and then set background color for this label.