To properly display this page you need a browser with JavaScript support.
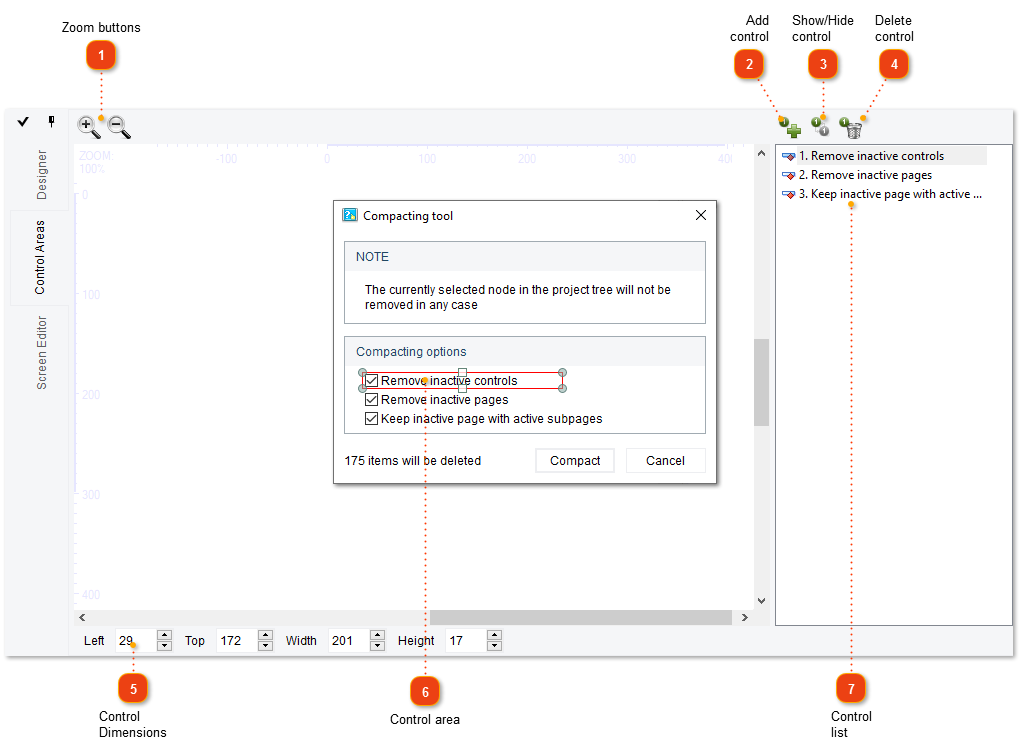
Control areas tool is useful for manually managing those control areas that Dr.Explain highlighted automatically. To switch to the Control areas tool, click the
Control areas tab in the
Designer .
Zoom
Use these buttons to zoom in/out. You can hold Ctrl and scroll the mouse wheel.
Add control
Show/hide control
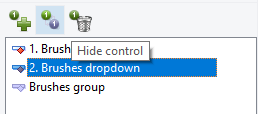
Click this button to hide/show the control bullets without removing the controls from the project. Click Hide control to make it invisible.
To view the list of hidden controls, switch to the Control areas . In the panel on the right, hidden controls are marked with an icon
To show control (make it visible), select it and click Hide control :
Delete control
Click this button to remove the selected control reference from the project.
Control size and dimensions
You can use these spin boxes to set the control area position and dimensions in pixels.
Control area
Edit the control area by dragging the highlighted area borders.
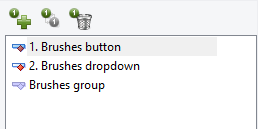
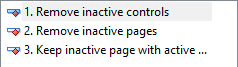
Control list
This list shows all controls of the annotated screenshot. Use it for switching between controls.
All other features are the same as in the
Designer .