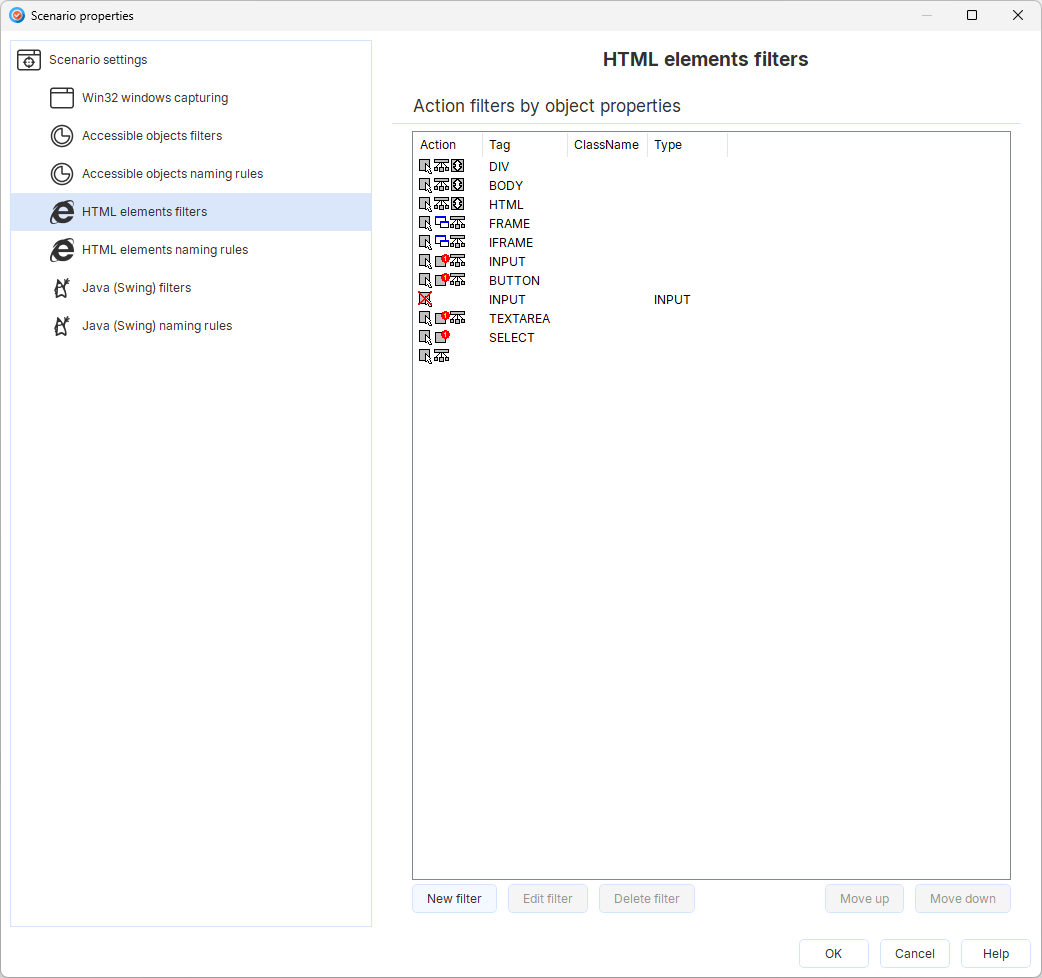
Editing HTML elements filters
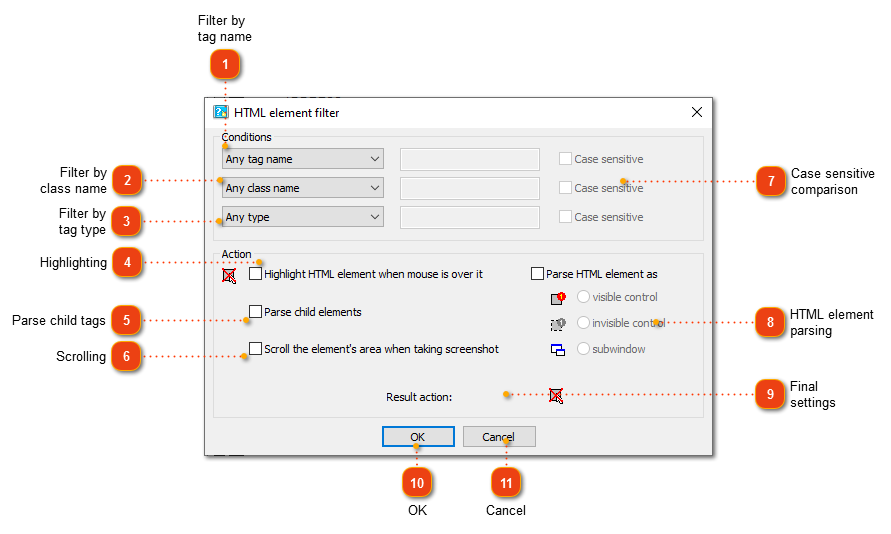
The following dialog window will appear:
 Filter by tag name
Use this section to set logical a condition based on an HTML tag name comparison.
|
|
 Filter by class name
Use this section to set a logical condition based on an HTML tag class attribute comparison.
|
|
 Filter by tag type
Use this section to set a logical condition based on an HTML tag type attribute comparison. Useful to distinguish different <input> tags.
|
|
 Highlighting
Check this option to highlight the HTML element when the cursor is pointing at it.
|
|
 Parse child tags
Check this option to parse inner HTML tags as well.
|
|
 Scrolling
Check this option to automatically scroll the HTML element area to capture it as a whole element.
|
|
 Case-sensitive comparison
Clear these checkboxes to ignore the case in a filter string comparison.
|
|
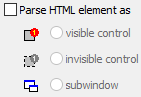
 HTML element parsing
Select this checkbox to include this HTML element into the project and select a type of inclusion:
-
-
add as invisible control;
-
add as a separate screenshot page (sub-window).
|
|
 Final settings
These icons display the filter action in compact iconic style.
|
|
 OK
Press the button to accept all changes and close the dialog.
|
|
 Cancel
Press the button to close the dialog and to discard the changes.
|
|