Startup screen
When you launch Dr.Explain, the application displays the startup screen. From here, you can import an existing document, create a new project or open a recent project:
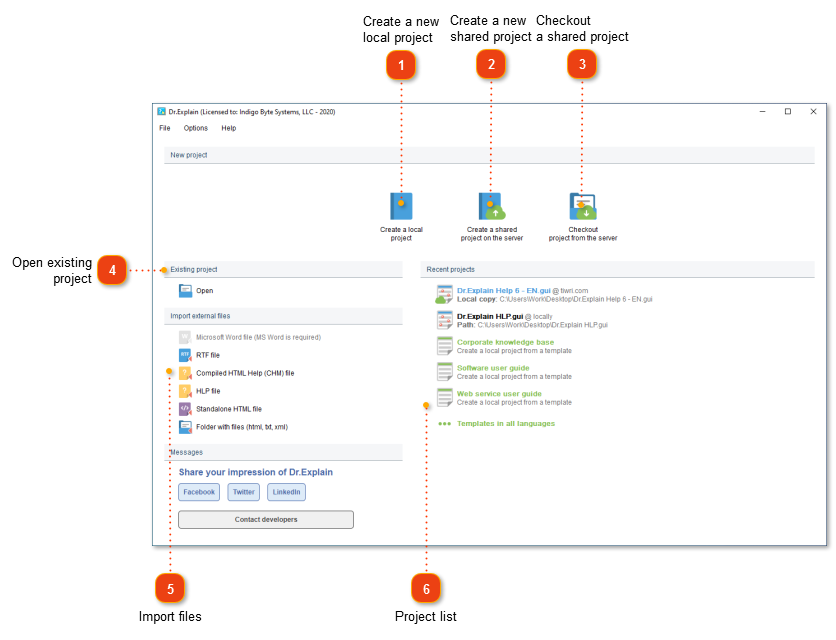
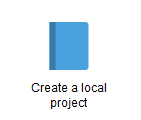
Create a new shared project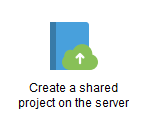 Select this option to create a new shared project on cloud service Tiwri.com or Dr.Explain Collaboration Server.
|
Checkout a shared project Select this option to open a shared project from cloud service Tiwri.com or Dr.Explain Collaboration Server.
|
Open an existing project Select this option to open existing project.
|
Import external files To create a new Dr.Explain project from existing files (i.e. import them), select a format of the source document you want to import. Import dialog will be displayed.
|
Project list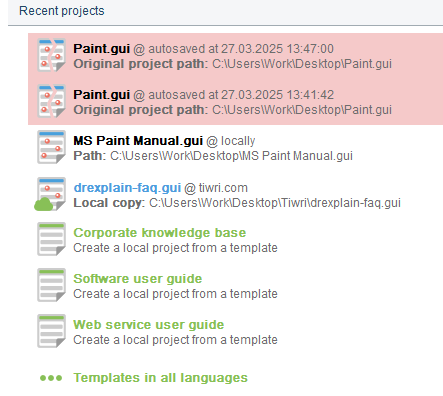 Here you can see the list of recently opened projects. Local projects are displayed in black, shared in blue, project templates in green.
You can create your own project from a project template. Depending on a template you chose, newly created project will contain topics usually present in a software manual, Web-service documentation, or an enterprise knowledge base.
If the program suddenly stopped working (e.g. due to a crash or power outage), an auto-saved copy will become available in the recent projects list. You can open it to recover the project from the last saved state.
|